You spend all day working on the perfect mix. Everything sounds great in your room. The kick and the bass are working together, the vocal sounds like it’s right on top of the mix. So you export the mix, take it to your car, and have a listen.
Next thing you know, what sounded great just minutes before just totally falls apart and sounds terrible. Maybe the bass suddenly sounds way too loud, or the vocals totally disappear. The balances sound nothing like what you were just listening to in your home studio.
This is one of the most challenging things about mixing in a home studio environment, especially when you’re mixing on a small set of cheap speakers that can easily give you a false depiction of what your production actually sounds like. I know I’ve spent hundreds of hours trying to figure out how to create mixes that translate and sound great on a variety of different playback systems, and getting them to work on a cheapy set of monitors is by far one of the most challenging.
So, today I’m going to give you a few tips that are going to help you create mixes that sound great regardless of what you’re listening to them on. But first, I want to briefly talk about why this happens…
Why Your Mixes Sound Like Dog S*%@
It’s important to remember that when you’re mixing, every decision that you make is based on the sound that you’re hearing – not only from the speakers but the way those speakers are interacting in your specific room.
Most people don’t realize this, but the room itself has a massive effect on the sound you hear – sometimes a bigger effect than the actual speakers themselves! The problem here is that if your speakers or your room are coloring the sound in a way that isn’t representative of what’s actually going on in your mix, it’s going to cause you to make decisions that might sound great in your home studio, but aren’t going to translate (sound good) on any other speakers.
I’ll give you an example.
Let’s say something in your monitoring setup is causing you to hear too much low-end – too much bass. Now if you’re mixing a track in a room like that, the bass is going to feel like it’s way too loud.
So you’re going to pull down that bass fader quite a bit to try to make a mix that sounds right to your ears. And that’s going to be great in your home studio, but as soon as you take that mix anywhere else, what you’re going to find is that it sounds like it doesn’t have enough bass or it’s way too light suddenly.
So, the real question to ask and the aim of the game when you’re thinking about building your home studio is: how can I create a monitoring system that is as flat and neutral, and uncolored as possible?
Something that allows you to hear what’s going on in your mix, without coloring it or changing it in any way, and which is going to help you create mixes that sound great on a wide variety of different playback systems? Check out my top tips below to help you create mixes that sound great, wherever they’re listened to.
Tips for Making Great-Sounding Mixes

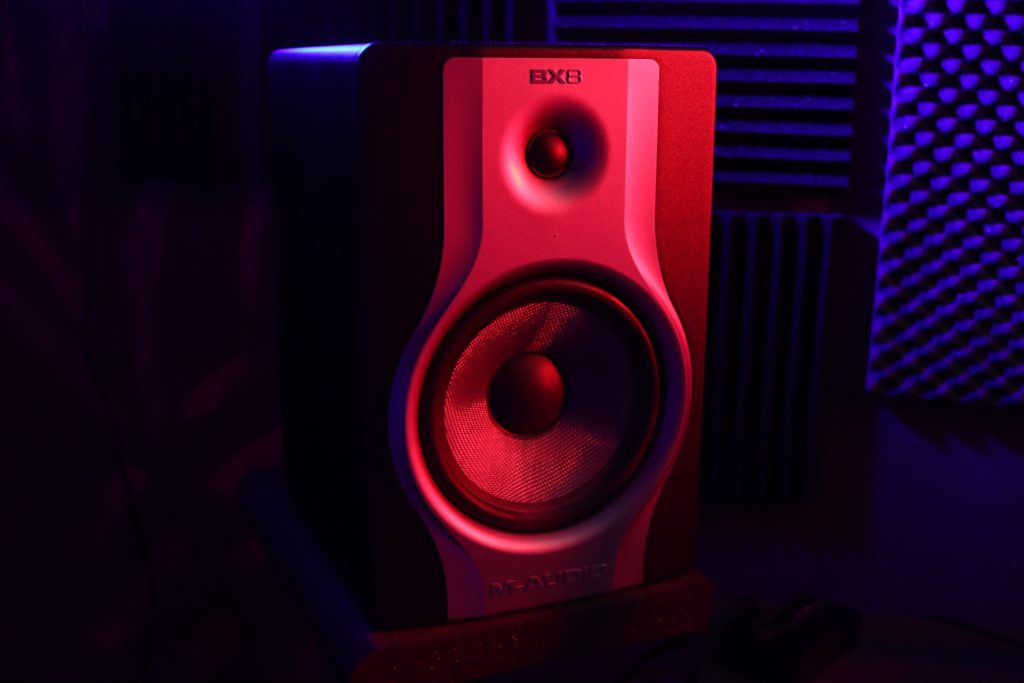
Optimize Your Speaker Placement
A lot of people find that when they have problems with mixes that aren’t translating, the first thing they’ll do is go out and spend a bunch of money on acoustic treatment or fancy monitors.
This can be helpful, but the easiest place to start is the placement of your monitors, which doesn’t cost anything at all. Just find the right spot in your room for the speakers that you currently have to find the most optimum sound. It doesn’t matter whether they are a 100-dollar pair of speakers or a 500-dollar pair, just by moving your speakers six inches or a foot, you can dramatically change the sound.
Here are a few tips within this tip to help:
Distance – To get your speakers producing an optimum sound, you should ensure they are set up in an equilateral triangle. This means that the distance between the two speakers should be the same as the distance between you and one speaker and you and the other speaker.
Speaker Direction – If you’re like most people, you’re probably working in a room that’s a rectangle. You can have them so that they’re firing along the long side of your wall or you can have them the other way so that they’re firing along the short wall. 9 times out of 10, you’re going to get better results when your speakers are fired along the long wall because bass develops over longer distances; thus, you’re going to give the bass frequencies more space to develop.
Room Symmetry – Most of the time, you’re going to get better results if you have the speakers set up so that they’re in the center of the room. I’ve seen many people set them up in the corner of their room, which you would think makes sense if you’re working on a corner desk (I did this for years!); however, most of the time, this is not a great way to set things up. You’re going to get much better results if your speakers are set up so that they’re symmetrical.
Use Stands – Another very important point I want to make is that if your speakers are sitting on top of a desk, get them off the desk and onto stands. When your speakers are on top of a desk, the desk is actually going to resonate with the speakers and interact with the speakers in a way that’s going to change and color the sound – this is not what you want! Get the speakers onto stands so you’ll always hear a more accurate, truthful representation of what’s really going on.
Invest In Acoustic Treatment
I know this isn’t as exciting as buying new plugins or fancy analog equipment, but acoustic treatment is single-handedly one of the best investments you can make in your home studio. The concept behind acoustic treatment is that it’s going to even out the anomalies of your room and allow you to hear a flatter, more accurate frequency response. This alone is going to allow you to make decisions that sound great on a wide variety of different speakers.
It’s really easy to get started, and you don’t need to spend a lot of money. In fact, you can even build your acoustic treatment yourself, which is what I did when I first started! You can build bass traps that sit in the corners of the room which will flatten out the frequency response of your room and give you a flatter, truer sound.
There’s a lot of great information online about how to build your own acoustic treatment. Check out our blog on 5 Ways to Soundproof Your Room on the Cheap for inspiration!
Use References
Now, by references, I actually mean other tracks – commercial tracks by other artists that are already mixed and already mastered. Using these kinds of tracks that have been meticulously mixed and perfected can be a great reference to what you want your tracks to sound like and how close you are to achieving something similar while you’re working in your sessions.
Another reason why this technique is so powerful is that it’s going to give you a real-world reality check, helping you judge and balance your decisions against what you already know sounds good.
For example, if you’re working on a mix and you think it sounds great, but then you A/B it against a reference, and suddenly the reference has way more low-end, then you know that you actually may be OK adding some more low-end to your mix.
Whatever reference you choose is going to become your gold standard by which all of your mixes are judged, so try to find the best-sounding material! References are really going to help you. I use them every day when I work, and they’re really powerful in helping you get your tracks sounding right.
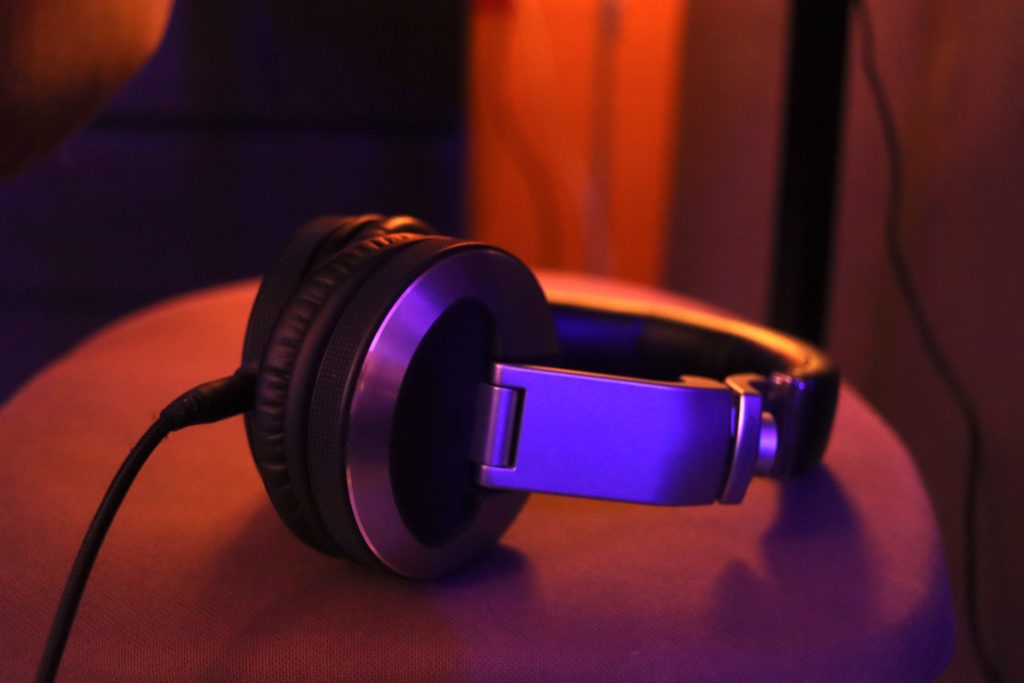
Use Headphones
While I don’t recommend mixing on headphones exclusively, a solid pair of cans can be really helpful as a secondary reference point. This is because they completely remove the sound of your room from your monitoring chain.
Think about it. When you put on headphones, the sound is barreling right down your ear canals. You’re not hearing the room interacting with the sound in any way. I find this really helpful when I’m mixing the low end because the biggest problems in most listening rooms come from the low end.
So by putting on headphones, you cancel the room out of the equation, and you’re going to get a much more accurate representation of what’s going on in your mix’s low end. I like to mix my kick and my bass in headphones. I’ll keep referencing them pretty consistently while I’m working, popping them on every 15 minutes or so just to hear how things are sounding in headphones. I won’t rely on them exclusively, but I find they can be really helpful when it comes to spotting red flags and helping you make decisions that are going to translate much better.
Invest in Professional Mastering
I know a lot of you are probably mastering your own music or attempting to, and that’s fine. But if you can swing it, it’s always worth investing in a professional mastering engineer. Not only is this going to improve the sound of your tracks, but it’s also going to open the door for a conversation that can lead to better mixes.
You don’t even have to have a conversation with your mastering engineer; you can just listen to the tracks that they sent you back and compare them with the originals. That’s going to give you some really helpful clues on where you’re falling short.
One of the things I really like to do whenever I get a track back from mastering is running it through my DAW so I can level-match that mastered track with my original mix (the one I sent out). And I’ll just flip back and forth between them…I’ll A/B them. And that gives me a lot of clues.
It will tell me:
- What are the tonal differences?
- What are the changes that have been made?
And if I find that there are trends and patterns between different mixes – for example, maybe I get four or five different mixes that come back, and they all have more bass in them – then that’s giving me a big clue. That’s letting me know that I’m probably hearing too much bass in my room, and that’s causing me to turn down the bass in my mixes lower than it actually should be.
By investing in professional mastering, you’re giving yourself an objective, third-party perspective and some really valuable feedback that can help you create better mixes that translate more effectively wherever they’re listened to.
Hopefully these tips help you make mixes that translate better.
Happy mixing!
FAQS
How do I make mix adjustments on small speakers?
The best way to get a great sound from small speakers is to hook up your earbuds or headphones to your audio interface, then connect your computer or laptop to your bluetooth speaker. From here, route your DAW to play through your laptop speakers, then mix with a Mixcube.
By routing the audio to your bluetooth speaker this way, you’ll be able to make the necessary adjustments in your DAW while you’re on the go, and it will eventually help you find the right balance between every one of your sets of speakers.
A common scenario you’ll find here is the bass. It may sound pretty thick and heavy on your studio monitors and be hardly audible on your smaller speakers, which means you’ll probably need to make some tweaks to your EQ.
How can I reduce reverberation in a room?
One of the best ways to reduce reverberation in your studio if you don’t have any soundproofing is to use soft furnishings like blankets, sleeping bags, rugs, couches, cushions, etc. Even the most professional studios still use these household items to reduce the reverberations that you’ll naturally get in most studio spaces. You can also use bass traps and foam panels if you can afford it.
Do acoustic panels actually work?
You’ll notice a huge difference in your recordings if you use acoustic panels, but only if you place them correctly, i.e, in relation to your listening position. These are great for reducing the reflections of sound in the room and ultimately will help you make better decisions with your mixing during playback.