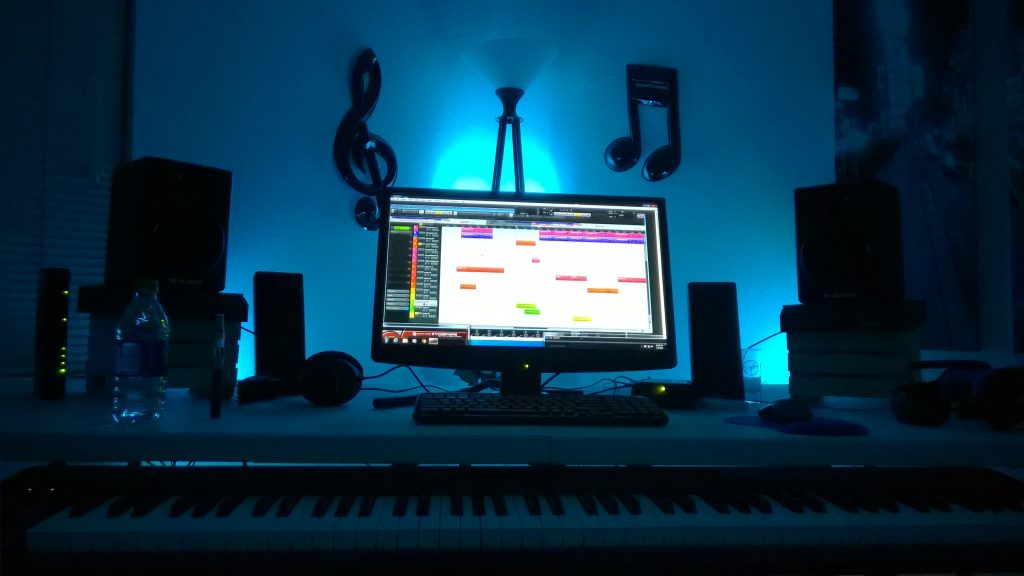
It’s annoying as hell when you think you’re all set for nailing a vocal session, only to later playback the recording and discover something’s off. Without a sound engineer to help, the problem isn’t always obvious and it’s easy to make mistakes. Factors like not having the right mic setup or a bad room layout are usually the main culprits, but there are a myriad of other things that can go wrong as well.
Luckily, there’s a few actions you can take to eliminate the common issues that you’re likely to come across when recording vocals or live instruments. And most of the solutions don’t even require you to spend a dime.
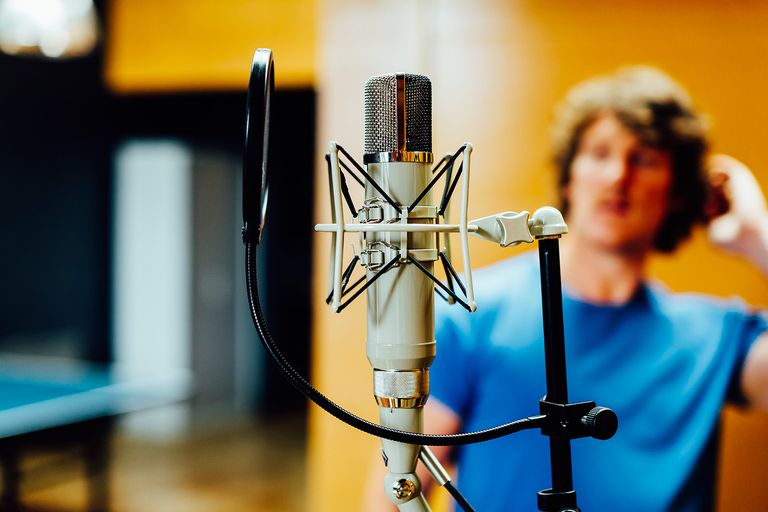
Pick the Best Mic for the Job

Depending on what you’re going to be using it for is what will determine the best mic for recording vocals. Condenser mics are usually a done deal and work great for soft vocals, but it’s recommended to have a dynamic mic at your disposal too. Cardioid designs like Shure’s SM58 is a good option when you need to cover louder parts in a track.
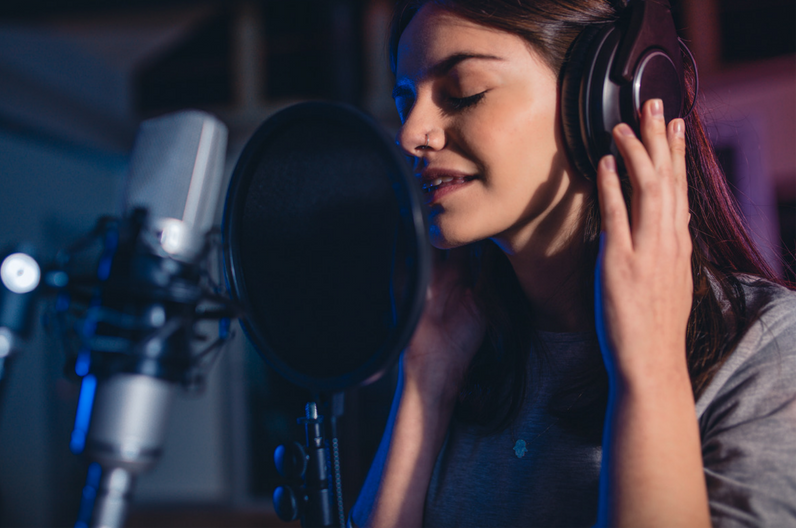
Use the Right Isolation Gear

If you want clean and quality vocals, it’s always recommended to have a pop filter in front of your mic and an isolation shield behind it. Both will eliminate most of the unwanted noise from the room and any harsh consonants or plosives that escape your mouth. In addition, you might want to look at investing in a mic stand and shockmount if you’re picking up sounds like footsteps or TV noise from other rooms while recording.
Prep the Room
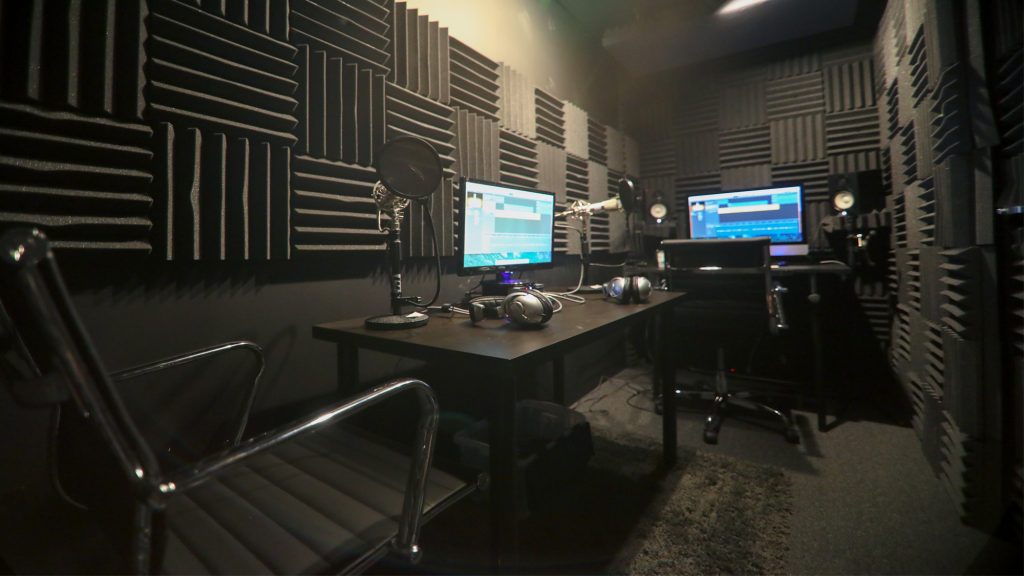
If you’re going to be working in a room which isn’t soundproofed and is prone to reflections, you can utilize many of your household items to isolate the environment better. Drape thick blankets and duvets from the walls and windows, or put a wardrobe or bookcase in front of your door to dampen sounds from outside. You can also position yourself or your vocalist against a wall to reduce the reflections and create a better barrier for the room’s acoustics.
Set the Mood
If you’re just wanting to record a snippet or just a few seconds of sound, there’s probably not much need to do this. If however, you’re going to be recording a vocalist performing a full track, this can take hours to get right. So it’s definitely in both of your best interests to make sure the singer feels relaxed and comfortable in their surroundings. This will save a lot of time with retakes because they won’t feel as nervous, and they’ll be able to give it their best.
Keep Your Distance
Not keeping a reasonable distance from the mic creates a common problem called the Proximity Effect, which in turn, creates interference when your mouth is too close to it. Omnidirectional mics are best for solving this as they are immune to this issue, but how you separate yourself from the mic will solve it too. Aim to put yourself around 6-18” apart from the mic with the pop filter in place for the best sound.
Set Your Levels

You’ll need to watch out for latency issues and clipping while you record. It’s always useful to set the levels on your mixer or audio interface before you start recording. Make sure it’s the same with your headphones too so all the channels are in tact. Another good idea is to test how hot the signal will get. Sing one of the loudest sections of the song before recording so you can make adjustments where needed.
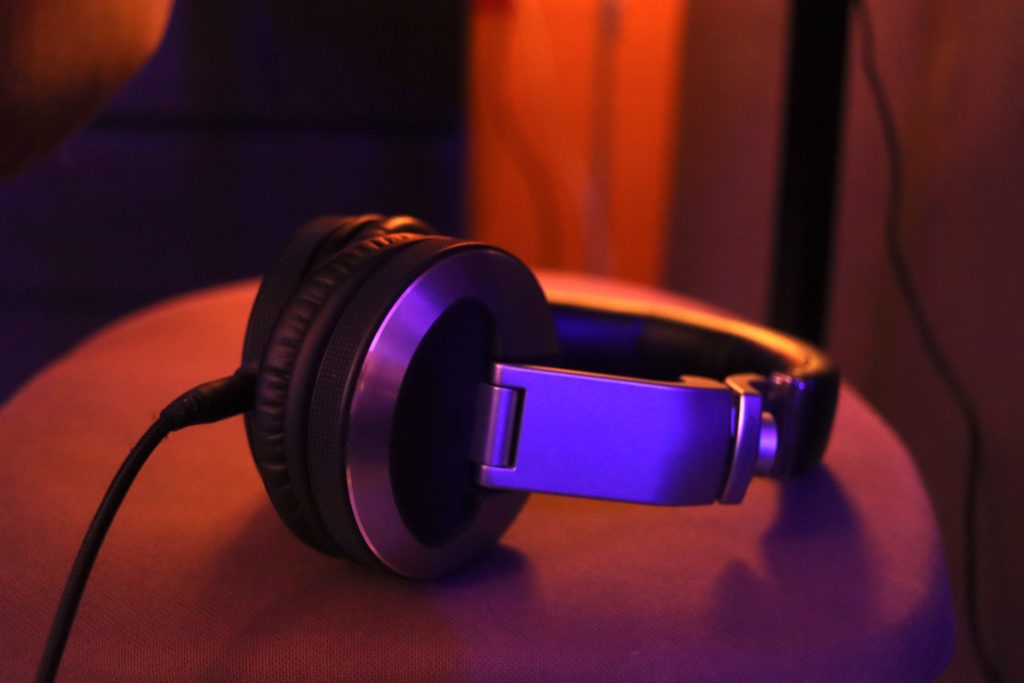
Monitoring Through Headphones

It’s always a good idea to have a decent set of headphones for monitoring your vocals. A lot of vocalists prefer to work this way so they can ensure they’re in tune with the track. Closed-back are good for preventing the tune in the headphones bleeding out into the mic. They’re also good for those who prefer to sing while listening through one of the cans so they hear themselves better. If you’re struggling to hear your voice in the headphones, try adding a little compression.
Hold Off the Effects

Many musicians and vocalists prefer to record their sound dry to begin with. This allows you to hear the sound in it’s clearest format, as you may end up needing to re-record it if there is sibilance or a pop somewhere. Adding a small touch of reverb is fine for giving your vocals a more acoustic feel, but these things can be easily missed if you’re masking the sound with a ton of effects or plugins and processors from the start. So it’s a good idea to save them until you’re happy with the recording in its rawest form first.
Make Sure You’re In Tune
If you’re going to be recording and overdubbing vocals or tracks separately, there’s a possibility they might be slightly out of tune with the other elements in the track. Especially if the keys clash or don’t fit together properly. The best way to get around this is to tune everything in advance. You can use hardware or your DAW’s built-in tuner to test each sound and make sure everything is harmonically accurate.
Conclusion
Using these tips should definitely help make the whole recording process easier, and create an environment where your vocals will sound notably clearer. Of course, you’re not going to get the same quality as you would expect from a professional studio, but it’s going to sound much better than if you hadn’t applied any of these at all. Saying that, the biggest contributing factor really comes down to the vocalist. If they sound like banshee on crack, nothing will save you. Make sure they fit the bill, then everything else should come together naturally.